Common Sub-Zero Refrigerator Problems (And How to Fix Them)
Sub-Zero appliances are engineered with commercial-grade craftsmanship, dual refrigeration systems, and heavy-duty insulation built to last up to 30 years. However, even the highest-quality luxury refrigerators face mechanical wear, temperature issues, and routine maintenance demands over time.
When cooling issues or leaks arise, understanding the underlying cause helps you resolve minor maintenance steps at home and recognize when to schedule certified Sub-Zero refrigerator repair in Boise, Idaho.
Temperature Fluctuations and Inconsistent Cooling
The most frequent complaint among Sub-Zero owners is inconsistent cabinet temperature or a motor that seems to run constantly without keeping food cold.
The Problem: Obstructed Condenser Coils
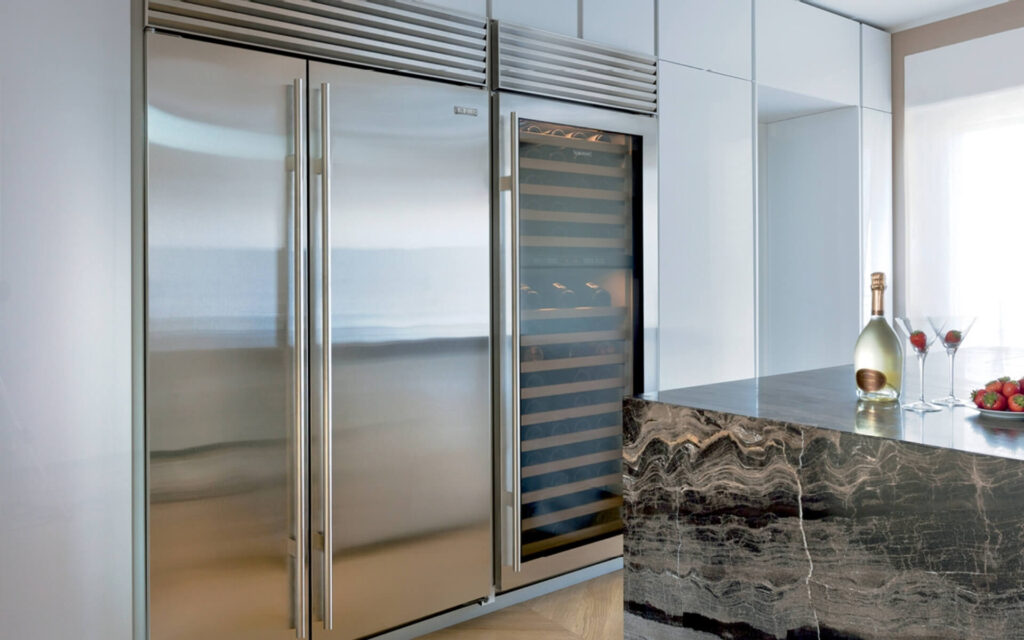
Unlike standard residential refrigerators that vent underneath through small fans, Sub-Zero units utilize heavy-duty condenser coils positioned behind the top overhead louvered grille or the lower toe kick on undercounter units.
When airborne dust, pet hair, and lint collect across these coils, airflow gets choked off. This forces the compressor to overheat, cycle continuously, and work twice as hard to maintain cold air. Left unaddressed, neglected coils can cause premature compressor burnout and expensive sealed-system failures.
Safe DIY Coil Cleaning Steps
- Turn off the electrical power to the refrigerator at the control panel or main circuit breaker.
- Open the access panel by lifting the overhead louvered grille or removing the bottom kick plate.
- Vacuum surface lint and dust gently using a vacuum hose equipped with a soft-bristle brush attachment.
- Sweep deep crevices using a long, flexible coil brush, moving exclusively in vertical strokes aligned with the aluminum fins.
- Close the access panel and restore power to the unit.
Avoid stiff wire brushes, scrapers, water, or chemical cleaning sprays. The aluminum fins and copper lines are delicate, and puncturing a tube turns routine maintenance into a costly repair.
When to Call a Certified Technician
If the unit continues running warm, displays a persistent “Vacuum Condenser” or “Service” warning light, or shows oily residue around copper fittings, it has likely suffered a refrigerant leak or mechanical fault that requires specialized diagnostic tools.
Ice Maker Malfunctions
Sub-Zero ice makers are reliable, but interruptions in the water supply or temperature changes can stop ice production entirely or result in undersized, hollow cubes.
Quick DIY Checks Before Calling for Service
- Check the shut-off arm: Verify that the wire or plastic feeler arm is resting in the down position and has not been locked upward by stray ice clumps.
- Inspect the water filter: An overdue or restricted filter reduces water flow to the internal inlet valve, leading to small or poorly formed cubes.
- Verify freezer temperatures: Sub-Zero ice makers require temperatures between 0°F and 5°F (-18°C to -15°C) to cycle the internal thermostat properly. If the freezer is running too warm, the harvest cycle will not trigger.
- Check the water supply: Confirm that the shut-off valve supplying water from your home plumbing is open and unobstructed.
Interior Water Leaks and Defrost Drain Blockages
Water pooling beneath the crisper drawers or along the bottom floor of the refrigerator compartment is typically caused by a restricted defrost drain tube.
During automatic defrost cycles, melted frost travels into a drain trough and flows out to an evaporation pan beneath the unit. Over time, loose debris, mineral buildup, or frozen condensation can block this channel.
Flushing an accessible drain opening with warm water using a turkey baster is a safe first step. However, if ice dams keep returning or if reaching the drain requires removing internal back panels, bring in a technician. Forcing internal panels risks puncturing hidden evaporator tubing, while recurring ice blockages often indicate a failing defrost drain heater or a faulty bimetal thermostat.
Repair vs. Replace: What to Do with an Older Sub-Zero
When an older Sub-Zero unit between 12 and 20+ years old experiences a major sealed-system breakdown, many homeowners wonder whether it is time to replace the unit entirely.
In almost every scenario, rebuilding the mechanical components is the more practical and economical decision:
- Replacement costs: Purchasing a brand-new built-in unit, combined with custom panel retrofitting, cabinet adjustments, and professional delivery, often ranges from $12,000 to over $20,000.
- Built-to-last construction: The heavy stainless-steel chassis, hinges, and cabinet insulation on a Sub-Zero are engineered for a multi-decade lifespan.
- Extended lifespan: Rebuilding the sealed system—replacing the compressor, evaporator coil, and heat exchanger—costs a fraction of a full replacement and resets the functional lifespan of the cooling system for another decade.
The Golden Rule of Sub-Zero Maintenance
Clean your condenser coils every 6 to 12 months without exception. Keeping the overhead coils clear of dust eliminates heat buildup, relieves strain on the dual compressors, optimizes energy efficiency, and protects your appliance investment for years to come.